
How to add auto caption on TikTok videos 2024:
Now days, many more people like it to auto caption their video, which is very professional, so that if you want to take up the video, even if you want to keep the auto captions you will be taught all the way.
So let’s start:
Record or Select Video: Either record a new video or choose an existing one from your gallery that you want to add captions to.
Access Editing Tools: After selecting your video, tap on the “Next” button located at the bottom-right corner of the screen.
Tap on Text Option: Once you’re in the editing interface, tap on the “Text” option located at the bottom of the screen. It usually appears as a large “Aa” icon.
And then Type Your Caption: A text box will appear on your video. Type your caption in this box. Make sure it accurately reflects the audio or dialogue in your video.
Enable Auto Captioning: Below the text box, you’ll see an option labeled “Auto Caption.” Tap on it to activate automatic captioning for your video.
After that Adjust Caption Style and Position: You can customize the appearance of your captions by changing the font, color, size, and position. Experiment with different options until you’re satisfied with the look.
Finalize and Post: Once you’re happy with the captions, tap on the “Next” button to proceed to the final posting screen. Add any additional effects, stickers, or filters if desired.
And then Preview and Edit: Play your video to preview how the auto-captioning looks. If necessary, you can edit the text or make further adjustments to the caption settings.
Best application for auto caption 👇
Download
How to use this application complete detail 👇
Step 1: Download and Install Blink App
Go to your device’s app store or (App Store for iOS, Google Play Store for Android).
Search for “Blink – Auto Caption” and download the app.
After that Install the app on your device.
Step 2: Sign Up or Log In this app.
And then Open the Blink app.
Sign up for a new account or log in if you already have one.
Step 3: Grant Permissions
Step 4: Start a New Project
Tap on the “New Project” button to start a new video captioning project.
Allow the app to access your device’s microphone and camera.
Step 5: Record or Import Video
Choose to record a new video using your device’s camera or import an existing video from your device’s gallery.
Step 6: Auto Captioning
Once you’ve selected or recorded your video, tap on the “Auto Caption” button.
Step 7: Review and Edit Captions
The app will automatically generate captions for your video using speech recognition technology.
After auto captioning is complete, review the captions generated by the app.
Edit any mistakes or inaccuracies in the captions manually if needed.
Step 8: Customize Caption Style (Optional)
Customize the style of your captions by adjusting font size, color, and position if desired.
Step 9: Save or Share your video
Once you’re satisfied with the captions, save your video with captions or share it directly to social media platforms or messaging apps.
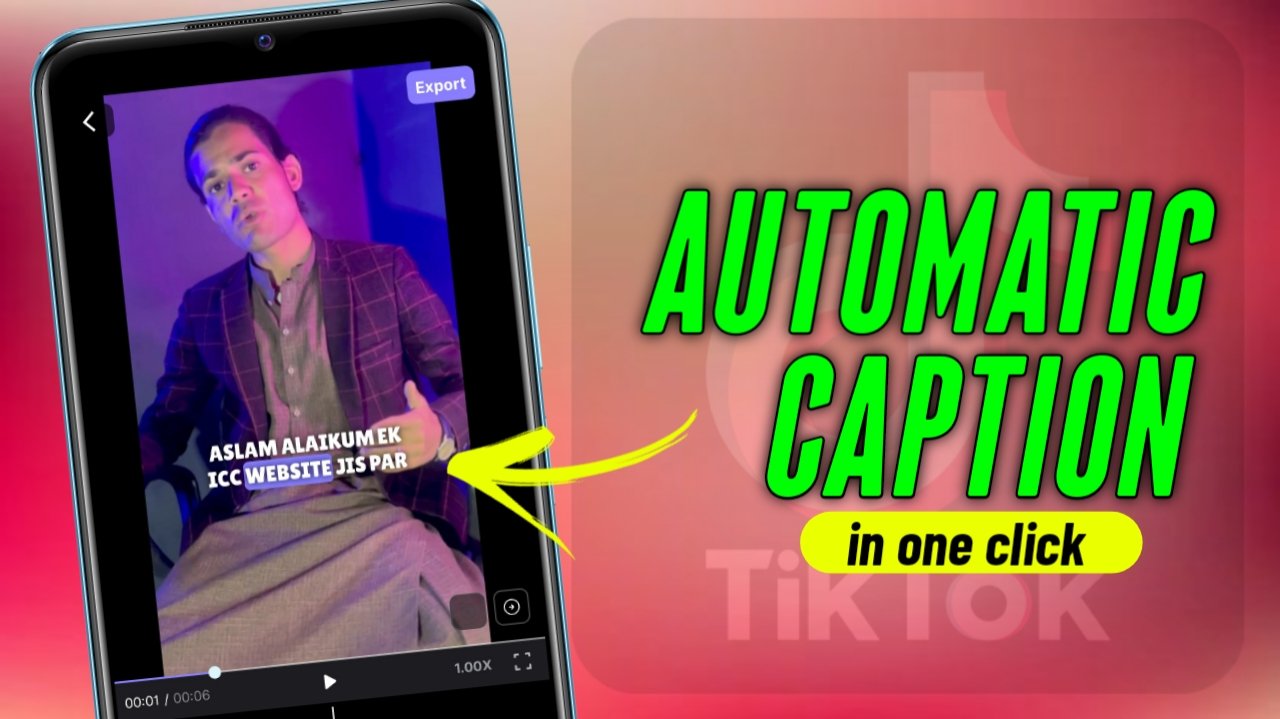
Step 10: Export
After that Export your captioned video to your device’s storage for future use or sharing outside of the app.
Step 11: Advanced Features (Optional)
And then Explore advanced features such as adding background music, subtitles, or effects to enhance your videos further.
Step 12: Feedback and Support
Provide feedback to the Blink app developers to help improve the app.
Seek support if you encounter any issues or have questions about using the app.
Step 13: Keep the App Updated
Regularly check for app updates to access new features and improvements.
So I hope you guys understand the whole way method.
If you have gays any question so comments me.